In my digital media class we were as a class tasked with an assignment to make a self portrait of ourselves using only the pen tool on illustrator.
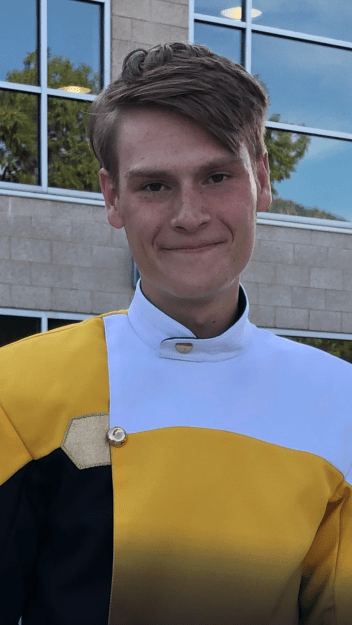

The first picture is the picture I used as a reference and the bottom picture is my finished self portrait. The very first thing I did was create my head shape. To do this I outlined the entirety of my face except my ears because I’ll make those in a different layer later on. So as I was making the face by the time I got down to the neck to make sure when I did the uniform later on I made my neck shape much longer than it should be so the uniform would fit nicely over it. After I finished the face shape I moved onto the nose, I made a new layer titled it nose and made sure it was on top of my face layer. To do the nose I had to make multiple smaller shapes instead of one giant shape like my face is. The reason for this is the nose is very complex and one shape would look weird and out of place. After finishing the nose I went on to the eyes. I started with the general shape of my iris and pupils to do the pupils I had to add what’s called a catch light. It’s a reflection of light that happens in our pupils and without our eyes look very flat and dead. The whites of the eyes also can’t be a plain bright light or it looks unnatural and freaky. After finishing the irises I moved on the the eye lids and the shadows around my eyes. The eyelids were easy to put on it was a couple quick shapes around the eyes I just finished making. The shadows and highlights were more difficult because I had to understand how light was hitting that certain area. This applied for the entire piece. After finishing the eyes I moved on to the part that scared me the most. The hair and eyebrows, I decided to get the eyebrows out of the way first because they were smaller. To do the eyebrows I did one solid shape than in the inside of that shape added a smaller more rugged shape to make it look like hair. I did a similar approach to the rest of my hair by making three main shapes the top of my hair and the two sides. After making these I went around it again making another more rugged shape and making sure it was placed under the main three shapes to make it look more natural and less flat. After that I added some highlights and shadows to it in the direction I part my hair. At this point I had finished my main face the only thing I had left was the uniform. I did this by making shapes for the main colors so the black, yellow, and the white. After that I went in and added the neck of the uniform and made it a different shade of white so it didn’t blend in with the rest of the white. I added shadows here and there and to make the area near the button added a shape where it was supposed to go and on the uniform that area is sparkly so I added a bunch of little sparkle shapes and placed them onto it. At that point I had finished my portrait but I wanted to add a little more so I added the background following everything I did with my main body, by adding shapes and then highlights and shadows.
